Introduction
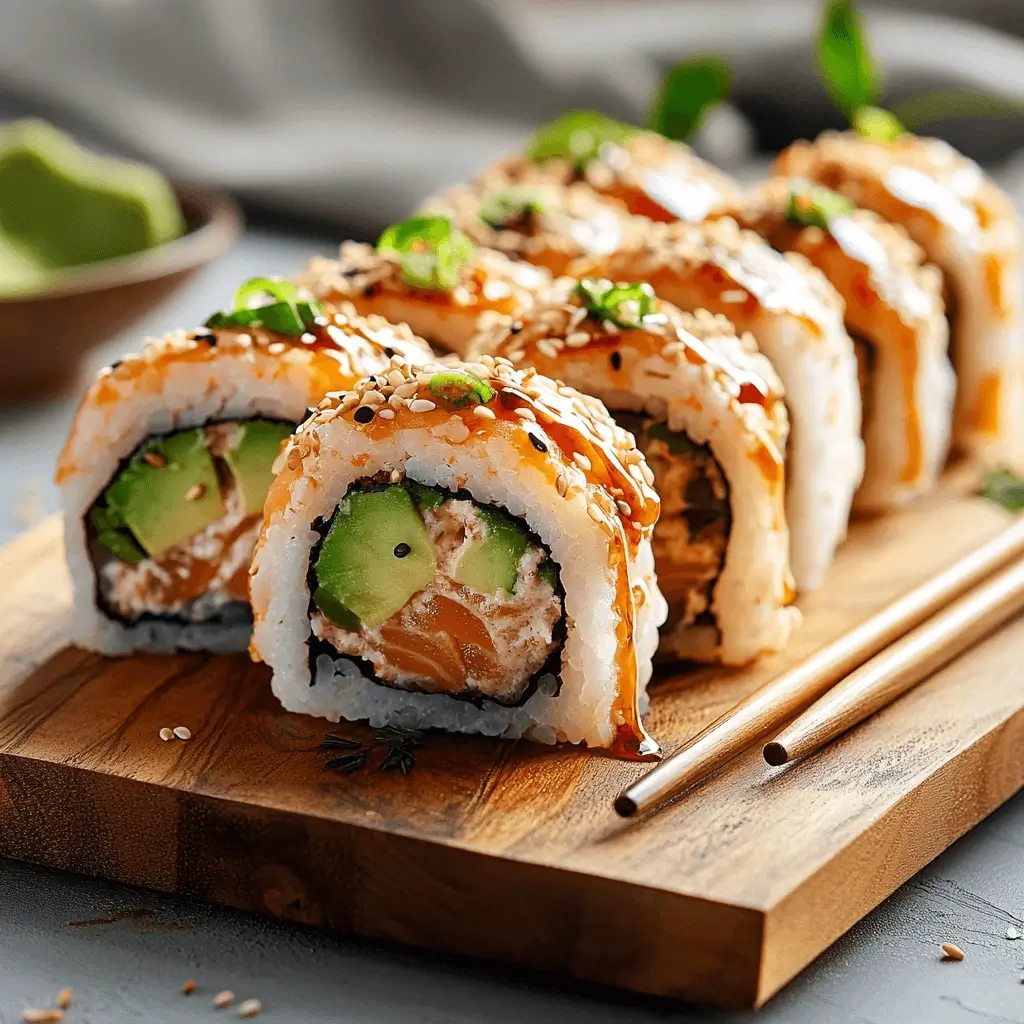
Craving sushi but not exactly thrilled about raw fish? You’re not alone — and the baked salmon roll might just be your new go-to. This mouthwatering twist on the classic sushi roll combines the rich flavor of oven-baked salmon with the creamy, savory goodness of ingredients like avocado, cream cheese, and spicy mayo. And the best part? You can make the baked salmon roll right in your own kitchen — no sushi chef training required.
Whether you’re a total beginner or a seasoned home cook looking to elevate sushi night, learning how to make the perfect baked salmon roll at home is easier (and more fun) than you might think. In this guide, I’ll walk you through everything from prepping the salmon to rolling like a pro — with tips, tricks, and creative variations to keep things interesting.
So grab your bamboo mat (or just a clean kitchen towel — no judgment here), and let’s roll.
Ingredients You’ll Need for a Baked Salmon Roll
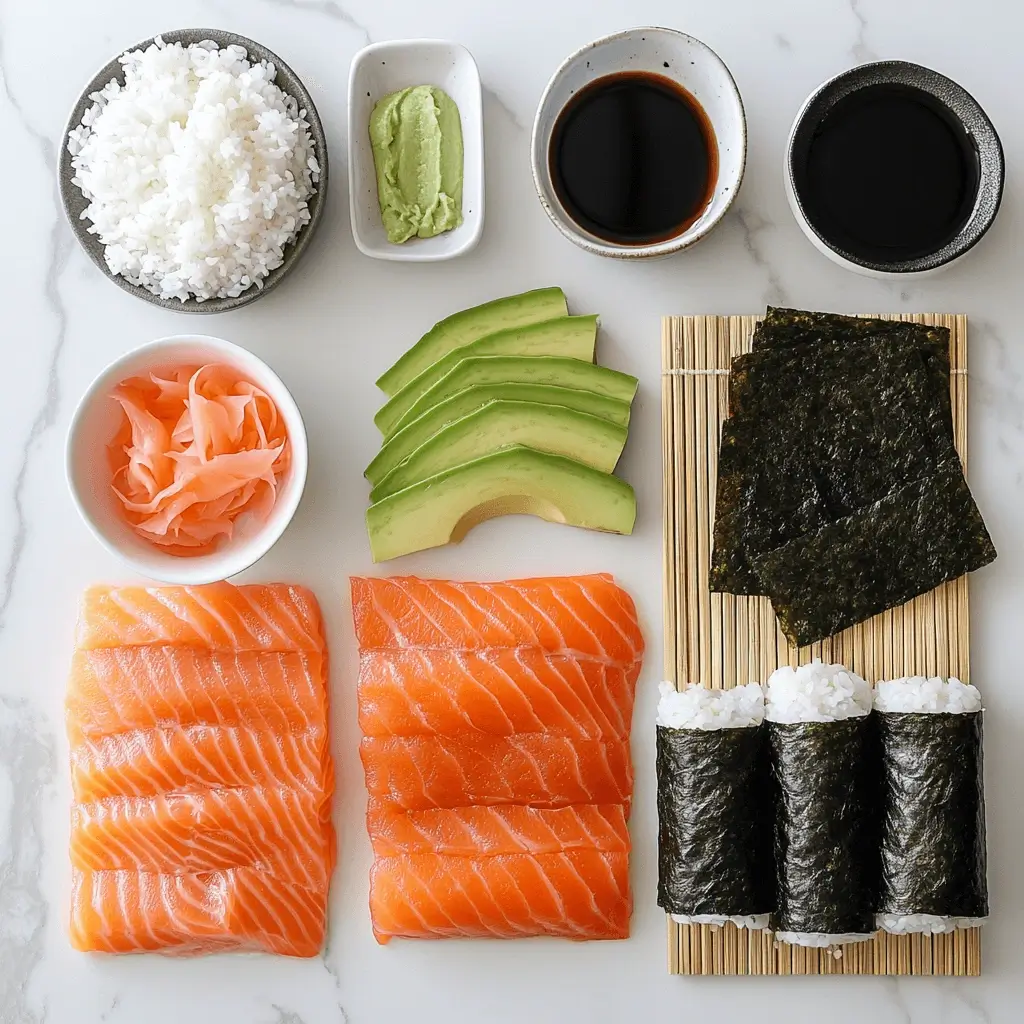
Before we start rolling like a sushi master, let’s make sure your kitchen is stocked with all the essentials. Making a baked salmon roll at home doesn’t require a ton of exotic ingredients — just a few high-quality basics and a dash of creativity.
Choosing the Right Salmon: Fresh, Frozen, or Smoked?
The star of the show is, of course, the salmon. For baked sushi rolls, you’ll want skinless salmon fillets. You can use fresh or frozen, but make sure it’s boneless and sushi-grade if possible.
Want to save time? Smoked salmon works too, but keep in mind it won’t give you the same flaky texture as oven-baked salmon.
Pro tip: Bake your salmon with a touch of garlic, lemon, and soy sauce for an extra flavor punch.
Sushi Rice Basics – What Makes It “Sushi” Rice?
You can’t have sushi without sushi rice — and no, plain white rice won’t cut it. Look for short-grain Japanese rice like Koshihikari or Calrose. The key is the seasoning:
- Rice vinegar
- Sugar
- Salt
Once cooked, mix in the seasoning while the rice is still warm. This creates that signature sticky texture you need for rolling.
Other Essentials: Nori, Cream Cheese, Avocado & More
Here’s your basic roll assembly lineup:
- Nori sheets (seaweed)
- Cream cheese (for that rich, creamy bite)
- Avocado (optional, but delicious)
- Cucumber or carrot strips (adds crunch)
- Spicy mayo or sriracha (if you’re into that kick)
These ingredients are flexible, so feel free to mix and match to suit your vibe.
Recommended Tools for Rolling Sushi at Home
Don’t worry if you don’t have a sushi mat — a clean kitchen towel wrapped in plastic wrap works in a pinch. Still, here’s the dream team:
- Bamboo sushi mat (makisu)
- Sharp knife (seriously sharp — sushi needs clean cuts)
- Plastic wrap (for rolling and shaping neatly)
- Small bowl of water (to keep your hands from sticking to the rice)
Ready to turn these humble ingredients into something magical? Let’s move on to the step-by-step process of building your masterpiece.
Step-by-Step Guide to Making the Perfect Roll
Now that you’ve gathered all your ingredients, it’s time to transform them into a delicious baked salmon roll. Whether you’re a sushi-making beginner or just looking to level up your at-home sushi night, follow these steps to nail the technique — no sushi bar required.
Baking the Salmon – Tips for Flavor & Texture
Preheat your oven to 375°F (190°C).
Place your salmon fillet on a lined baking tray, and season it with a splash of soy sauce, a squeeze of lemon, a drizzle of olive oil, and a pinch of garlic powder.
Bake for about 12–15 minutes, or until the salmon flakes easily with a fork.
Let it cool slightly, then use a fork to gently shred it into bite-sized pieces. This is your star filling — rich, flavorful, and totally cooked.
Assembling Your Roll – Layering Like a Chef
- Place a sheet of nori (shiny side down) on your bamboo mat (or towel).
- Wet your hands and gently spread a thin, even layer of sushi rice over the nori, leaving about an inch of space at the top edge.
- In a line across the center, add your baked salmon, cream cheese, avocado, and any other fillings you love.
Make sure not to overfill — it’s tempting, but it’ll sabotage your roll later. Keep it tight and balanced.
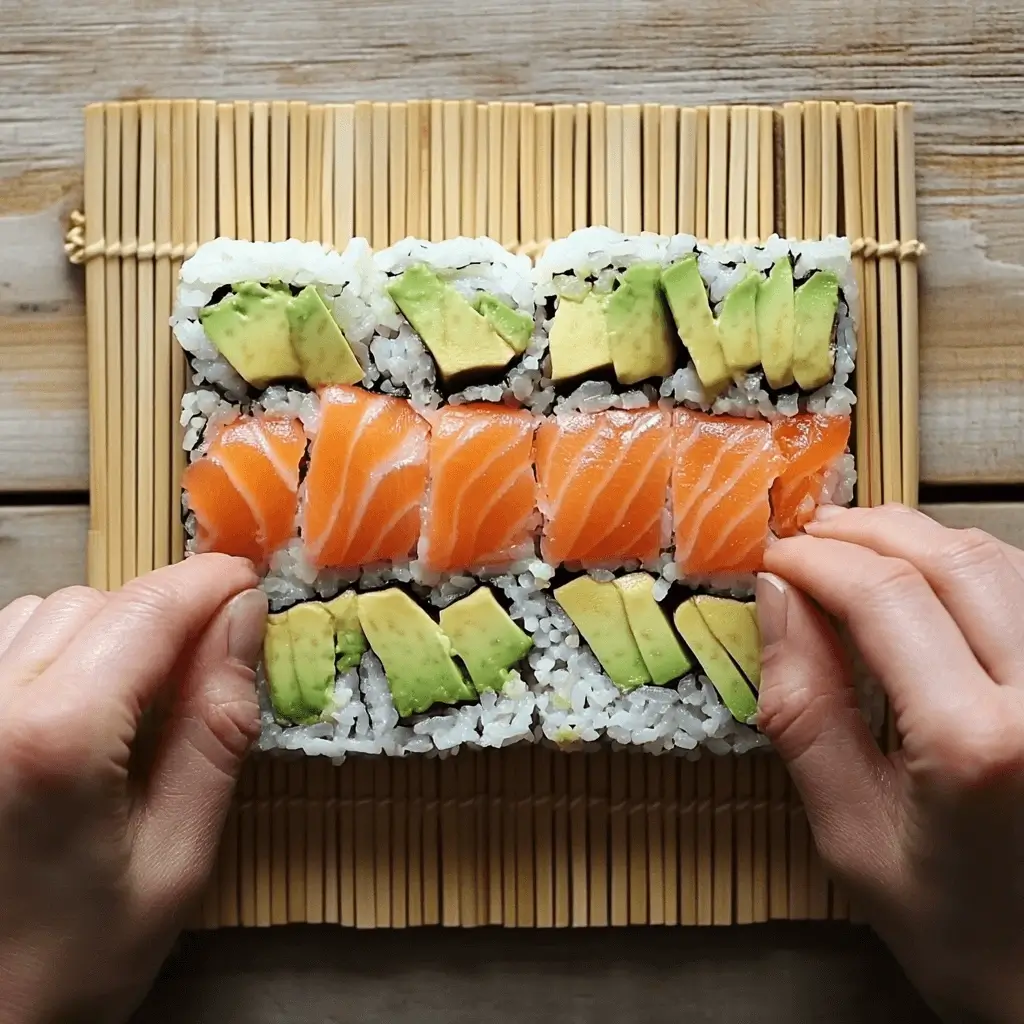
Rolling It Up – The Towel/Mat Method
This is where the magic happens. Using your thumbs, lift the bottom edge of the mat and gently start rolling forward, pressing the filling in as you go.
Use your fingers to shape and compress the roll, keeping it tight but not squished.
Once you’ve rolled all the way, seal the edge by dabbing it with a little water. Let it rest for a minute before cutting.
Cutting the Roll Without Making a Mess
Grab your sharpest knife (seriously, no butter knives allowed), and dip the blade in water between each slice.
Cut the roll in half first, then cut those halves into even thirds or quarters, depending on how big you want your pieces.
Pro tip: Wipe the blade clean after every cut to keep things neat and Instagram-worthy.
There you go — your first baked salmon roll is ready to devour. But wait… we’re just getting started. Let’s talk about why this version of sushi is such a game-changer.
Why Baked Salmon Rolls Are a Sushi Game-Changer
Let’s be real — when most people think of sushi, they think raw fish and fancy restaurants. But baked salmon rolls flip the script. They bring all the bold flavor and elegance of traditional sushi, without the fear factor (or the price tag). Here’s why this roll earns MVP status in the sushi world.
Perfect for Beginners and Kids
Raw fish isn’t for everyone — and that’s okay. Baked salmon rolls are a great intro to sushi for anyone who’s hesitant about raw ingredients.
They’re fully cooked, easy to make, and safe for all ages, making them the ideal choice for sushi night with picky eaters or first-timers.
No Fear of Raw Fish – Safer & Simpler
No need to source expensive sushi-grade fish or worry about proper raw handling. With oven baked salmon, you eliminate any risk of foodborne illness — and simplify your prep.
This makes it perfect for meal prepping, weeknight dinners, or just feeling fancy without the fuss.
Great for Meal Prep and Leftovers
Unlike traditional sushi, which is best eaten fresh, baked rolls hold up better in the fridge.
Wrap them tightly and they’ll stay tasty for up to 24–48 hours, making them perfect for lunchboxes, next-day cravings, or midnight fridge raids.
Health Benefits of Baked vs. Raw Sushi
Baking brings out salmon’s natural richness while melting away excess fat — giving you a roll that’s satisfying without deep frying or added oils.
Pair that with brown rice or cauliflower rice for a low-carb or gluten-free version, and you’ve got yourself a clean-eating win.
So yeah — baked salmon rolls aren’t just an alternative, they’re an upgrade. And now that you know the “why,” let’s play with the “how” by diving into some flavor-packed variations you can try at home.
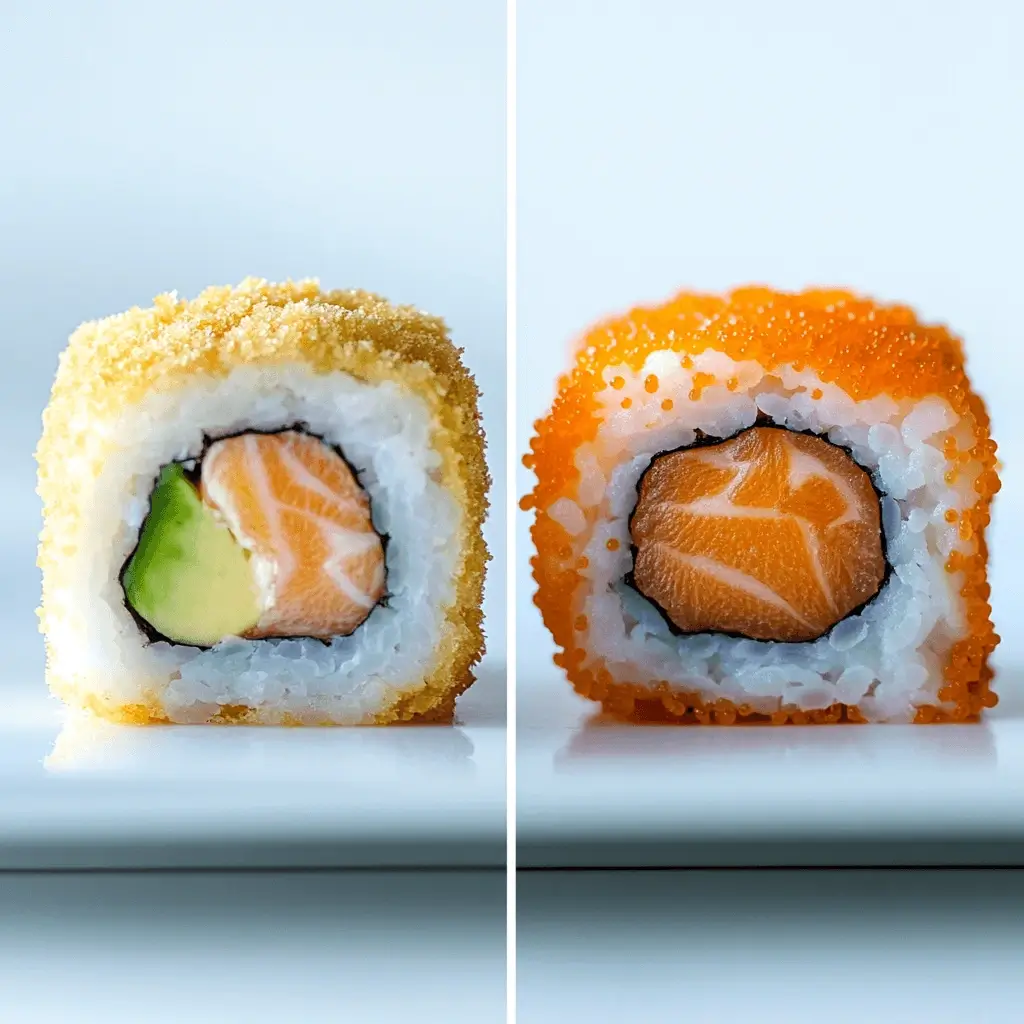
Fun Flavor Variations to Try
Once you’ve nailed the basic baked salmon roll, the sky’s the limit. You can keep it simple or go full-on sushi-fusion. Here are a few tasty ways to mix things up and impress your taste buds (or your dinner guests).
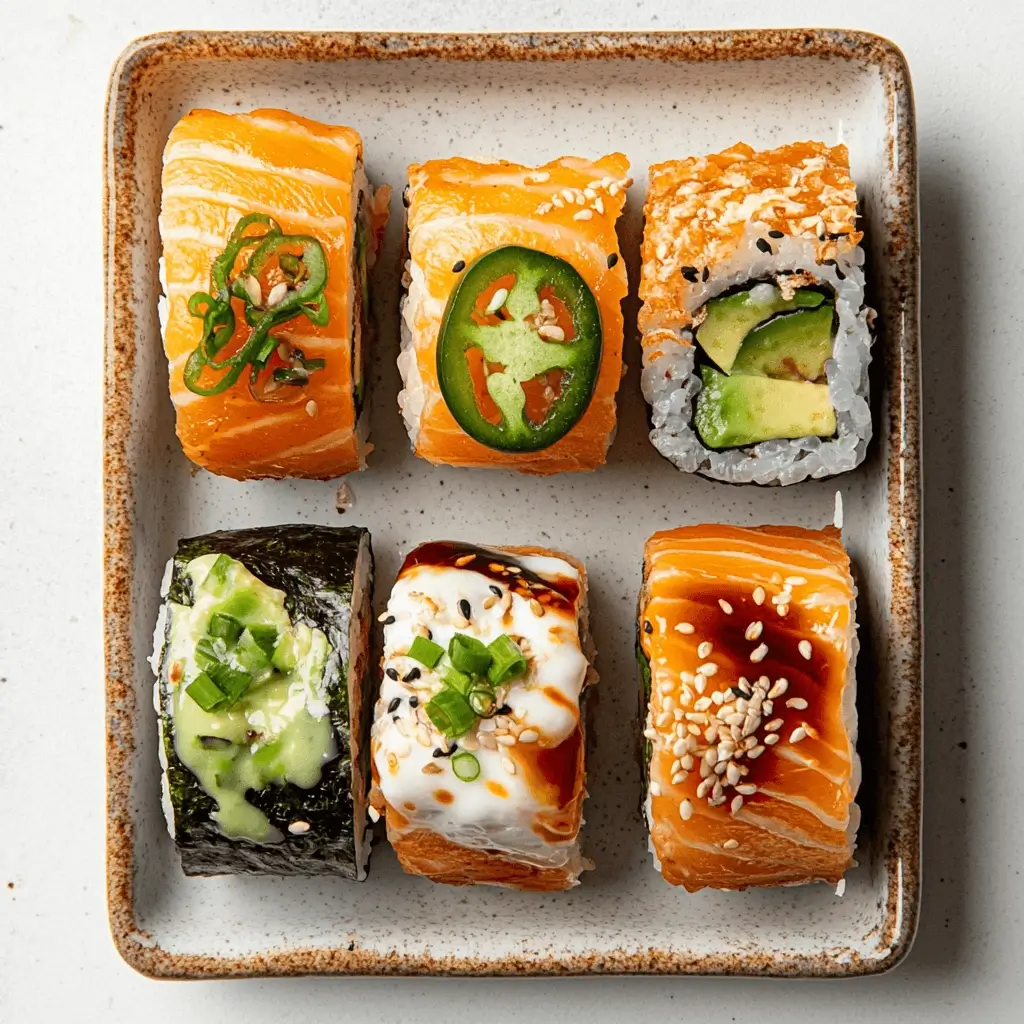
Spicy Mayo & Sriracha Lovers’ Roll
If you like a little heat, this one’s for you. Mix mayonnaise with a dash (or flood) of Sriracha, then drizzle it over your roll — or add it directly inside with the salmon.
Top it with a few thinly sliced jalapeños for that spicy kick and extra crunch.
Optional garnish: Sesame seeds and a tiny squeeze of lime. Chef’s kiss.
Cream Cheese + Avocado Fusion
For a roll that’s rich, creamy, and ultra-satisfying, pair your baked salmon with cream cheese and ripe avocado.
This combo brings a velvety texture that balances beautifully with the warmth of the salmon and the chew of the rice.
Think of it as a sushi-lovers’ version of a bagel with lox — but elevated.
Teriyaki Glaze or Sweet Soy Drizzle
Want a sweeter, more umami-forward flavor profile? Try brushing your salmon with a teriyaki glaze before baking.
Or, once your roll is sliced, drizzle a bit of sweet soy sauce over the top. It adds shine, sweetness, and that restaurant-style flair.
Bonus: A light sprinkle of green onions takes it from good to gourmet.
Crunchy Toppings: Tempura Flakes or Fried Onions
Texture is everything. For a satisfying crunch, add tempura flakes, crispy shallots, or even crushed seaweed snacks on top.
Not only does it add flavor and contrast, but it also makes your roll look next-level Insta-ready.
Pro tip: Add crunch after baking and cutting, or it’ll go soggy.
Whether you’re going spicy, creamy, or sweet-and-savory, these flavor twists keep the baked salmon roll fresh and exciting every time. Next up? Let’s knock out a few common questions people have when making sushi at home — you’ll be ready for anything.
Baked Salmon Roll FAQs
Got questions? You’re not alone. Here are some of the most frequently asked questions about making and enjoying baked salmon rolls at home — from ingredient swaps to storage tips.
How Long Can You Store Baked Salmon Rolls?
Baked salmon rolls are best eaten fresh, but they do hold up better than raw sushi.
Properly stored in an airtight container, they’ll stay good in the fridge for up to 24–48 hours. After that, the rice gets dry and the flavors start to fade.
Avoid freezing them — the texture gets weird, and nobody wants that.
Can You Use Smoked Salmon Instead of Baked?
Yes, absolutely — smoked salmon is a great shortcut if you don’t want to bake fish or if you’re in a hurry.
Just note: it changes the flavor and texture, giving the roll more of a silky, briny vibe rather than a warm, flaky bite.
It’s still delicious — just different.
What If You Don’t Have a Bamboo Mat?
No mat? No problem. You can use a clean kitchen towel wrapped in plastic wrap to mimic a bamboo mat.
It won’t be quite as firm or precise, but it works surprisingly well.
Pro tip: Place your nori shiny side down, and don’t overfill your roll — that’ll make it easier to shape.
Can You Make It Low-Carb or Keto-Friendly?
Totally. Swap out sushi rice for cauliflower rice or shirataki rice, and go easy on sugary sauces.
You can also skip the rice altogether and do a salmon + cream cheese wrap in nori for a keto-friendly, protein-packed snack.
Not quite a traditional roll, but still hits the spot.
Got more questions? Drop them in the comments — or just roll with your instincts. Either way, let’s bring it all home with a quick recap and a few final tips to wrap up your sushi night success.
Conclusion
And there you have it — everything you need to make the perfect baked salmon roll at home. From flaky, oven-roasted salmon to that iconic sushi rice snap, this dish proves you don’t need raw fish, fancy tools, or a reservation at a sushi bar to enjoy top-tier sushi.
Whether you stick with the classic combo or go wild with spicy mayo, teriyaki drizzle, or crunchy toppings, baked salmon rolls are endlessly customizable, beginner-friendly, and totally crave-worthy. They’re the perfect intro to homemade sushi — safe, satisfying, and stylish enough for dinner parties or solo sushi nights.
Now it’s your turn to get rolling. Try the recipe, experiment with flavors, and share your sushi creations with the world (or at least with your hungry friends). Got questions? Drop them in the comments. Want more sushi inspo? Stick around — there’s more where this came from.
So sharpen that knife, prep that salmon, and remember: the best rolls are the ones you make yourself.