Introduction:
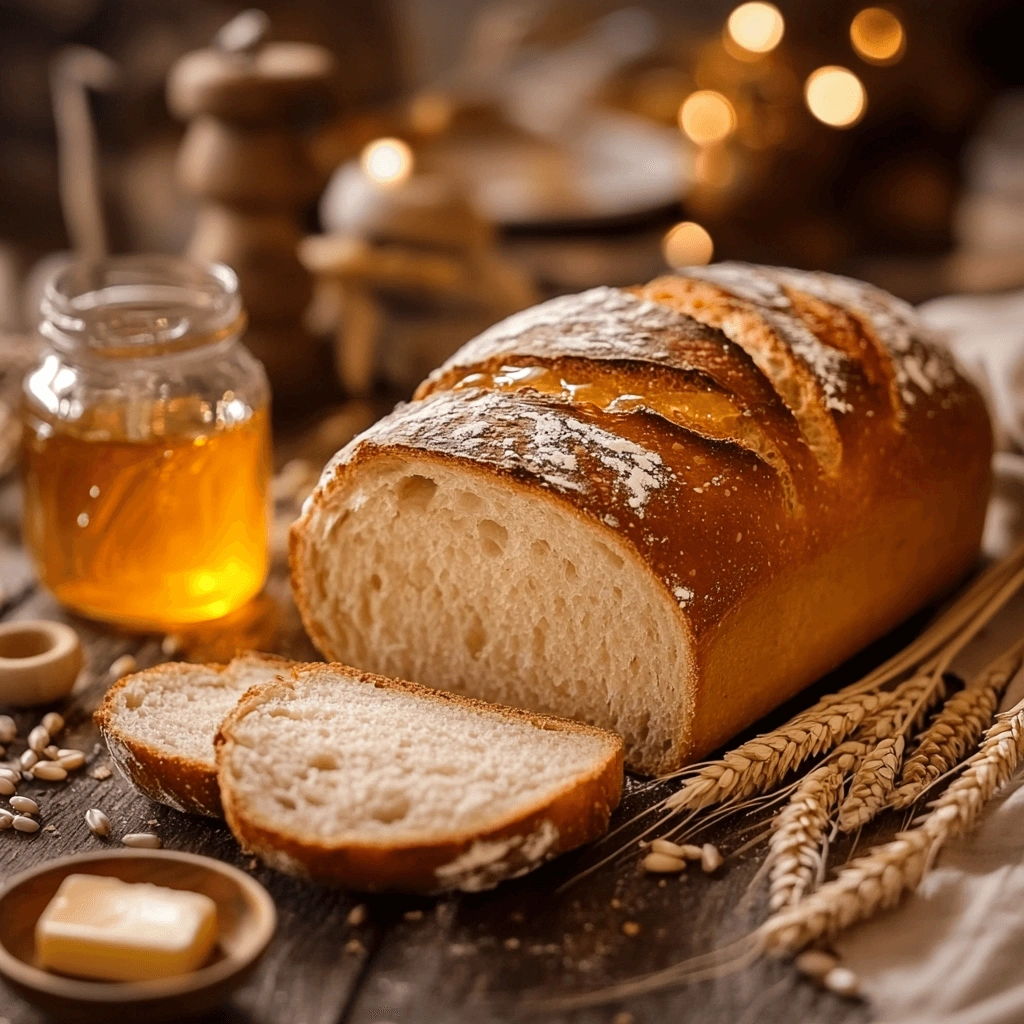
If you’re looking for a wholesome and delicious bread that’s easy to make, honey wheat bread is the perfect choice. Combining the natural sweetness of honey with the hearty goodness of whole wheat flour, this bread is as nutritious as it is flavorful. Whether you’re a seasoned baker or a complete beginner, this step-by-step guide will help you bake a soft and fluffy loaf with ease. Ready to make your first loaf of honey wheat bread? Let’s dive in!
What You’ll Need to Make Honey Wheat Bread

Ingredients
To make the perfect honey wheat bread, you’ll need the following ingredients:
- Whole Wheat Flour: The star of this recipe, packed with fiber and nutrients.
- Honey: Provides natural sweetness and enhances moisture in the bread.
- Active Dry Yeast: Helps the bread rise and gives it a soft, fluffy texture.
- Warm Water: Activates the yeast and combines the ingredients.
- Salt: Balances the sweetness and enhances flavor.
- Butter or Oil: Adds richness and keeps the bread moist.
Tools
Having the right tools will make your bread-making process smooth:
- Large mixing bowl
- Measuring cups and spoons
- Wooden spoon or stand mixer
- Bread pan
- Kitchen towel for covering the dough
- Oven thermometer (optional but helpful for accuracy)
Preparation Tips
Before you begin, here are some quick tips to prepare:
- Make sure your yeast is fresh and active for the best results.
- Use warm water (about 110°F) to activate the yeast; water that’s too hot can kill it.
- Gather all your ingredients and tools to streamline the process.
Step-by-Step Guide to Making Honey Wheat Bread
Step 1: Activating the Yeast
Start by activating the yeast, which is a crucial step for a light and airy loaf. In a large mixing bowl, combine the yeast, warm water, and a tablespoon of honey. Stir gently and let it sit for 5-10 minutes until the mixture becomes frothy. This foam is a sign that the yeast is alive and ready to work its magic.
Step 2: Mixing the Dough
Once your yeast is activated, add the remaining honey, salt, and melted butter or oil to the bowl. Gradually stir in the whole wheat flour, one cup at a time, until the dough starts to come together. If you’re using a stand mixer, switch to the dough hook attachment for this step. Mix until all the ingredients are well combined and the dough starts to pull away from the sides of the bowl.
Step 3: Kneading the Dough
Transfer the dough to a lightly floured surface and knead it by hand for about 8-10 minutes. Kneading develops the gluten in the flour, giving the bread its structure. The dough should be smooth and elastic but not sticky. If it feels too wet, sprinkle a little more flour as needed.
Proofing and Baking the Bread

Step 4: Proofing the Dough
Place the kneaded dough in a lightly greased bowl, cover it with a kitchen towel, and let it rise in a warm place for about 1-2 hours or until it has doubled in size. Proofing allows the yeast to work, creating air pockets that make the bread light and fluffy.
Step 5: Shaping the Dough
Once the dough has risen, punch it down gently to release excess air. Shape the dough into a loaf by rolling it tightly and tucking the ends under. Place it seam-side down in a greased bread pan.
Step 6: Baking
Preheat your oven to 375°F (190°C). Let the shaped dough rest for another 20-30 minutes for a second rise. Bake the loaf for 25-30 minutes, or until the top is golden brown and the bread sounds hollow when tapped. For extra softness, brush the crust with melted butter immediately after baking.
Tips for Beginners to Perfect Your Honey Wheat Bread
Common Mistakes to Avoid
- Over-proofing: Letting the dough rise too long can result in a dense loaf.
- Under-kneading: This can make the bread tough and crumbly. Always knead until the dough is smooth and elastic.
- Incorrect Water Temperature: Too hot or too cold water can ruin the yeast activation.
Troubleshooting Tips
- If your bread doesn’t rise, check the freshness of your yeast.
- For a softer crust, cover the bread with a damp cloth as it cools.
- If the bread is too dense, try sifting the flour before measuring.
Optional Add-Ins
Take your honey wheat bread to the next level by adding ingredients like:
- Chopped nuts or seeds (e.g., sunflower, flax, or sesame seeds).
- Dried fruits such as raisins or cranberries.
- Oats sprinkled on top for a decorative and tasty crust.
Why You Should Add Honey Wheat Bread to Your Diet
Health Benefits
Honey wheat bread is a healthier alternative to white bread. It’s rich in fiber from whole wheat flour, which aids digestion and keeps you full longer. The honey adds natural sweetness without the need for refined sugar, making it a wholesome choice for any meal.
Versatility
This bread pairs perfectly with both sweet and savory dishes. Use it to make sandwiches, toast it with butter, or serve it as a side with soups and stews.
Homemade Advantage
When you bake your own bread, you control the ingredients, avoiding unnecessary additives and preservatives found in store-bought bread. Plus, there’s nothing like the aroma of freshly baked bread filling your home!
Conclusion:
Making honey wheat bread at home is a rewarding and satisfying experience, especially when you see your golden loaf come out of the oven. With its natural sweetness, soft texture, and health benefits, it’s a bread that’s sure to become a family favorite. Whether you’re a beginner or an experienced baker, this step-by-step guide will help you achieve delicious results every time. Ready to give it a try? Start baking your honey wheat bread today and enjoy the taste of homemade goodness! Don’t forget to share your experience in the comments below!

